
Process of making the Pins


This whole project came to me after I went to the flea market in Louisville, Kentucky on spring break. This old man was selling vintage LIFE Magazines for $2 each. I picked up 4 of them knowing I wanted to create my portfolio piece out of them. I had already appreciated print media before I began this process, but looking through real-life vintage newspapers and magazines that weren't just on Pinterest was a cool experience.

My first thought was to make a collage, but I couldn't think of anything specific. I landed on making buttons because I thought this would be the best way to give everyone a piece of the past rather than making a piece of artwork. I then utilized the maker space to make buttons. It was super easy to figure out to make, just time-consuming making each pin and culling through four magazines to find the best button image. At the end of this, I used just three magazines but created 109 pins. The three magazines were from a wide range of periods (1938, 1948, and 1956). I went to the maker space two different times to finish all my pins.


The process of actually making the buttons involves cutting out bits of the magazine that I thought were cute or aesthetically pleasing. I had to think of my audience during this portion because I wanted college kids to take these. A lot of them had quirky sayings, or just looked cute. I would use the paper cutter in the last image with the two boys to get it exactly right. I would then put a piece of metal and the backing of the button into the maker and then place the magazine on top of it with a clear glossy cover to make them all look professional and clean. I repeated this process until I couldn't find anything cute left in the magazine. By the end, my hands were covered in ink since most of these magazines were over 70 years old and the ink wasn't as good as our magazine ink is now. I placed my buttons in bags according to the year of the magazine and then labeled them with my sharpie of the year the magazine came out so when people would take a pin they would know where it is from.


The next part of the process is installing to the public and having them react and take my pins. For this to happen I needed to present it in a way that would capture people's eyes. The first picture is a sign I created with a QR code that would take people to a Google form that would ask people how they consume their media and why they took a pin. I kept the survey short and sweet so people would feel inclined to fill it out. Also, in the first photo is a picture of the first draft of how I was going to present it. Thankfully, I had my friend Sydney who was very knowledgeable in origami and helped make paper boxes to put my pins in. After that, we divided up the pins and put around 36 in each box, there was a total of 3 boxes.

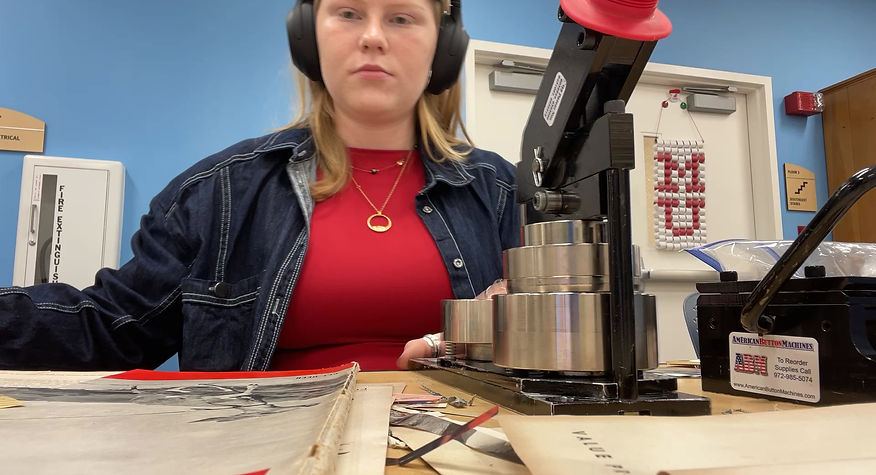
*me with all the pins in their boxes*

Shriver Starbucks

Armstrong Student Center

King Library
The last part of the process was the installation. I wanted to put these three boxes in a place where you find print media like newspapers and student-published magazines and zines. I also wanted to place them where you find a lot of students. These three places came to mind because I also know that is a typical place where you would find print media. My friend Sydent helped me with the display of these boxes and signs and made it look appealing. I am happy with how they turned out and how they look installed. At this point in the process, I just had to wait for the reactions to come through.